
Your one-stop guide to Insurance Institute of India exams—Licentiate, Associateship, Fellowship & Surveyor—all explained clearly at study4insurance.
Are you preparing for Insurance Institute of India exam and feeling confused about which level to choose? Whether you’re planning to appear for the licentiate, associateship, fellowship, or surveyor qualification, this complete guide will help you understand everything in one place. The III professional exams are designed for insurance professionals who want to grow their careers in the industry.
What is Insurance Institute of India (III)?
The Insurance Institute of India is the premier national body that conducts professional exams for insurance sector employees. Moreover, it offers three main qualification levels that help professionals upgrade their knowledge and skills. These exams are recognized across India’s insurance industry and are essential for career progression.
Why III Exams Matter for Your Career
Completing III certifications opens doors to better job opportunities. Additionally, these qualifications are often mandatory for promotions in public sector insurance companies. Many insurance organizations also prefer candidates with III credentials during recruitment.
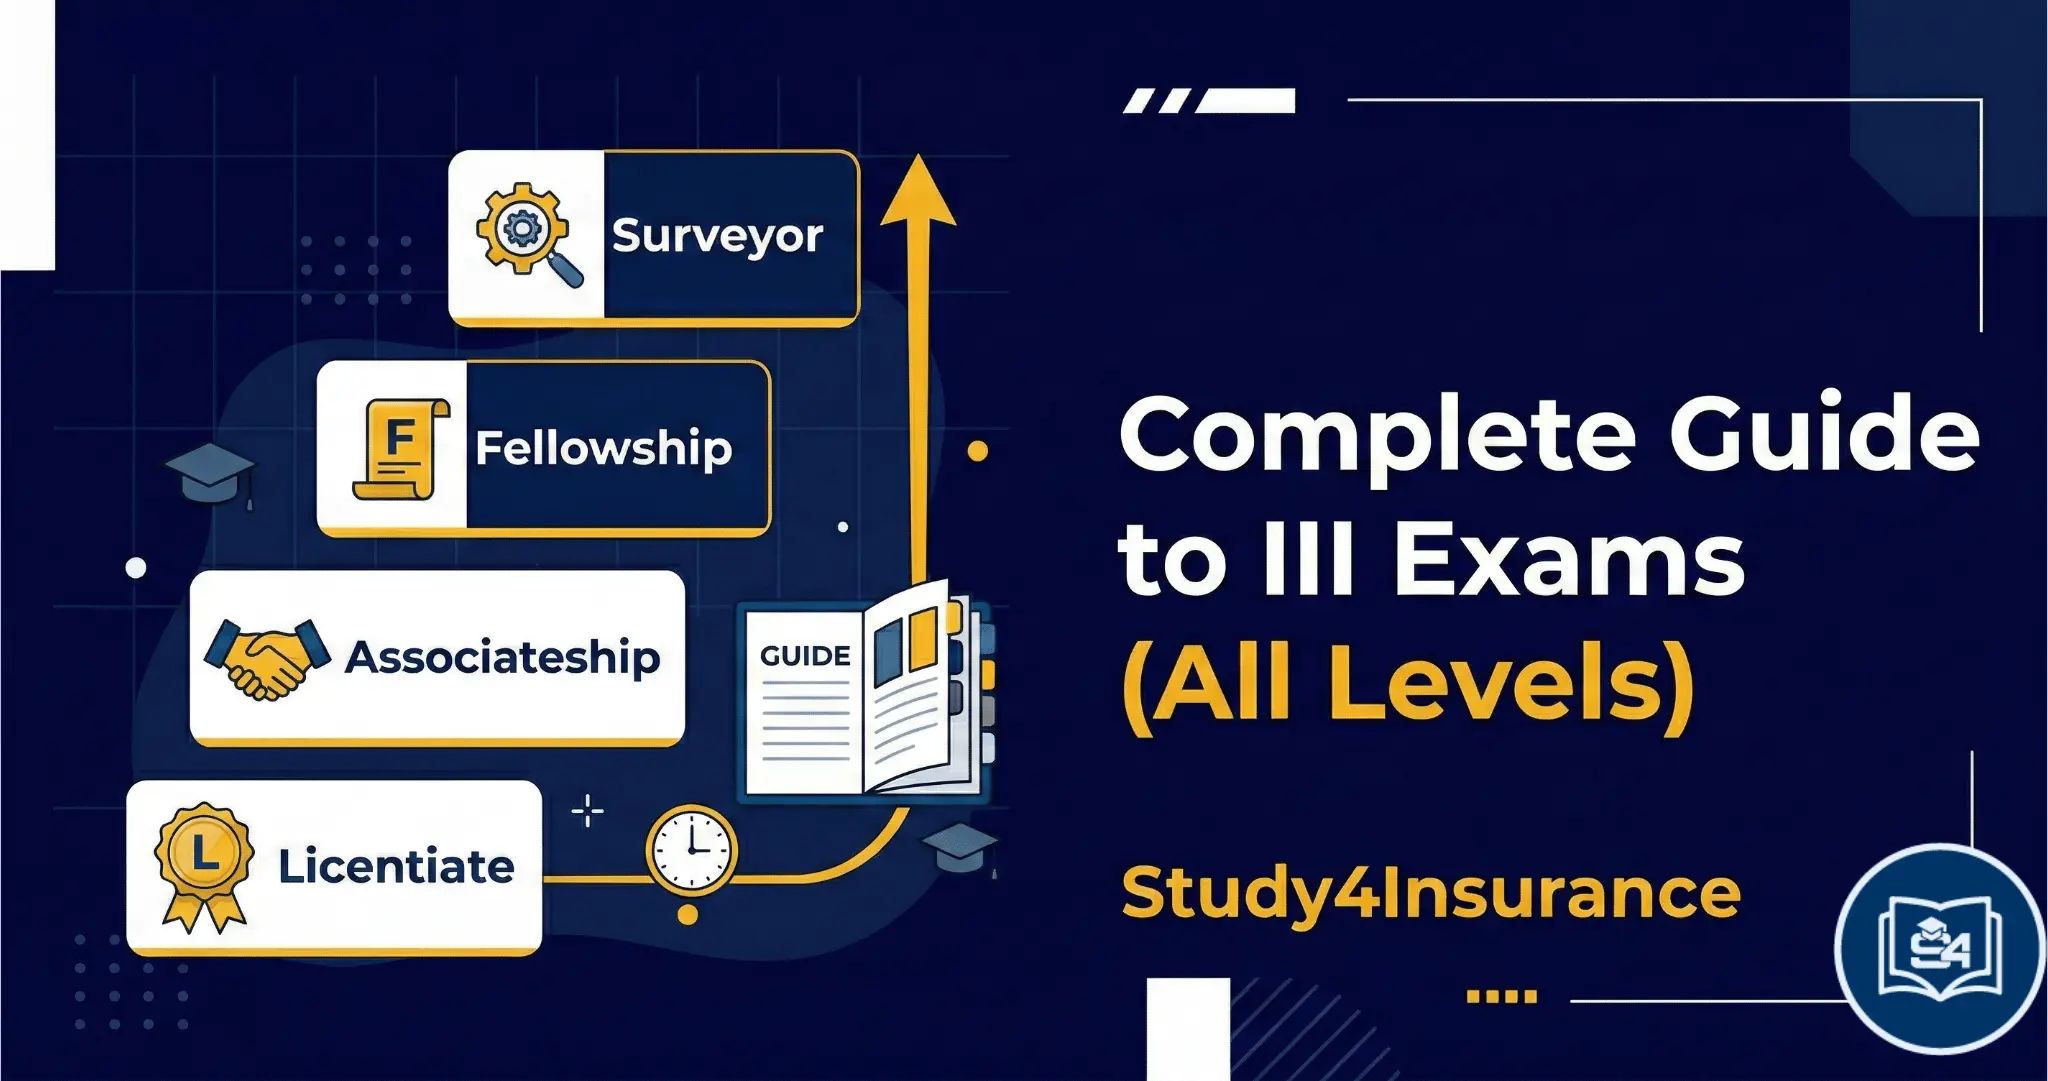
Understanding the Four Main III Qualifications
Let’s explore each qualification level in detail. Furthermore, we’ll discuss who should take each exam and what benefits they offer.
1. Licentiate Exam – Your Entry Point
The Licentiate exam is the foundational qualification for insurance professionals. This exam is perfect for beginners who have just started their insurance career. Typically, fresh insurance agents and junior employees pursue this certification first.
Key Features:
- Basic level insurance knowledge
- Suitable for entry-level professionals
- Foundation for higher qualifications
- Passing marks: 60%
- Distinction marks: 75%
The III licentiate exam pattern syllabus study material is designed to build fundamental concepts. Consequently, it covers basic principles of insurance, regulatory framework, and product knowledge.
2. Associateship Exam – The Next Level
After completing Licentiate, professionals move to the Associateship exam. This intermediate qualification requires deeper industry knowledge. Therefore, it’s ideal for professionals with 2-3 years of experience.
Important Points:
- Requires Licentiate as prerequisite
- Specialization in Life or General Insurance
- Credit point system for paper exemptions
- More advanced syllabus than Licentiate
The III associateship exam preparation notes question bank includes comprehensive study resources. In addition, mock tests help candidates practice extensively before the actual exam.
3. Fellowship Exam – The Highest Qualification
The Fellowship exam represents the pinnacle of III certifications. This expert-level qualification demonstrates mastery in insurance subjects. As a result, it’s highly valued for senior management positions.
Fellowship Benefits:
- Highest professional recognition
- Essential for top management roles
- Comprehensive insurance expertise
- Prestigious credential in the industry
For III fellowship exam preparation question bank, candidates need extensive preparation time. Similarly, they should have substantial work experience before attempting this level.
4. Insurance Surveyor Exam – Specialized Path
The Surveyor exam is designed for professionals specializing in loss assessment. This qualification is mandatory for anyone wanting to become a licensed surveyor. Hence, it has specific regulatory requirements from IRDAI.
Surveyor Exam Highlights:
- Specialized technical knowledge
- Mandatory for surveyor license
- Different eligibility criteria
- Focuses on claim assessment skills
III Online Examination Schedule 2026
The III online examination schedule 2026 typically includes multiple exam sessions throughout the year. Generally, III conducts exams in March, June, September, and December. However, you should check the official website for exact dates.
How to Check Exam Schedule
First, visit the Insurance Institute of India official website regularly. Then, look for examination notifications in the announcements section. Additionally, you can subscribe to their email updates for timely information.
Important Dates to Remember:
- Registration opening dates
- Last date for fee payment
- Admit card release dates
- Examination dates
- Result declaration timeline
How to Apply for Insurance Institute of India Exam Online
Applying for how to apply for Insurance Institute of India exam online is straightforward. Nevertheless, you must follow the step-by-step process carefully to avoid mistakes.
Registration Process Step-by-Step
Step 1: Visit Official Website Navigate to the III official portal and locate the examination section. Subsequently, click on the online registration link for your desired qualification.
Step 2: Create Account New candidates must create a login account first. On the other hand, existing members can use their credentials to log in directly.
Step 3: Fill Application Form Enter all personal and educational details accurately. Furthermore, choose your preferred examination center from the available options.
Step 4: Upload Documents Scan and upload required documents like photograph and signature. Moreover, ensure all documents meet the specified size and format requirements.
Step 5: Pay Examination Fee Complete the payment through available online methods. After that, save the payment receipt for future reference.
Step 6: Submit and Print Review all details before final submission. Finally, print the application form for your records.
III Exam Pattern Duration Number of Questions
Understanding the III online exam pattern duration number of questions helps in better preparation. Each qualification level has different exam structures.
Licentiate Exam Pattern
- Number of Papers: Varies by subject chosen
- Duration: 2 hours per paper
- Total Questions: 100 objective type questions
- Marks per Question: 1 mark each
- Total Marks: 100 per paper
- Credit Points: 60
Associateship Exam Pattern
- Number of Papers: 5-6 papers depending on specialization
- Duration: 2 hours per paper
- Question Format: Mix of objective and descriptive
- Passing Requirement: 60% in each paper
- Distinction: 75% and above
- Credit Points: 250
Fellowship Exam Pattern
- Number of Papers: Advanced level papers
- Duration: 3 hours per paper
- Question Type: Descriptive and case studies
- Complexity: High-level analytical questions
- Credit Points: 490
III Exam Passing Marks and Negative Marking Details
The III exam passing marks and negative marking details are crucial to know before appearing for exams. Specifically, the passing criteria remain consistent across all levels.
Passing Marks Criteria
- Minimum Pass Percentage: 60%
- Distinction Marks: 75% and above
- Individual Paper Requirement: Must pass each paper separately
- No Overall Average: Cannot compensate one paper with another
Negative Marking Rules
Currently, III exams do not have negative marking in most papers. However, always check the III exam handbook rules passing marks 60% distinction 75% for the latest updates. Therefore, candidates can attempt all questions without penalty.
III Exam Handbook Rules and Regulations
The III exam handbook contains all official rules and guidelines. Consequently, every candidate must read it thoroughly before the examination.
Important Rules to Remember
Eligibility Criteria:
- Educational qualifications vary by level
- Work experience requirements for higher levels
- Age limits for certain qualifications
Examination Conduct:
- Arrive at center 30 minutes before exam
- Carry valid ID proof and admit card
- No electronic devices allowed
- Maintain exam hall discipline
Result and Certification:
- Results declared within 4-6 weeks
- Certificates issued after fee payment
- Re-evaluation facility available
- Grace marks policy as per rules
Insurance Agent Exam IC 38 III / IRDAI Pre-Recruitment Exam
The insurance agent IC 38 exam is different from regular III qualifications. Specifically, this is a mandatory pre-recruitment test for all insurance agents. Moreover, IRDAI has made this certification compulsory before selling insurance products.
IC 38 Exam Overview
- Purpose: Mandatory agent certification
- Conducting Body: III or approved institutes
- Validity: Permanent (no renewal required)
- Duration: 1 hour
- Total Questions: 50 objective questions
The insurance agent IC 38 exam question bank and mock test helps candidates prepare effectively. Similarly, many training institutes offer special courses for this exam.
Subject-Specific Exam Preparation
Different subject codes require different preparation strategies. Therefore, let’s explore some popular subjects.
IC 01 Principles of Insurance
The III exam IC 01 principles of insurance notes cover fundamental insurance concepts. This is usually the first paper in most qualifications. Additionally, it forms the foundation for all other subjects.
Key Topics Include:
- Insurance definitions and terminology
- Principles of insurance
- Types of insurance contracts
- Risk management basics
IC 11 Practice Questions
III exam IC 11 practice questions pdf are widely searched by candidates. This paper focuses on specific insurance products and their features. Furthermore, it requires practical knowledge of insurance operations.
IC 38 Mock Tests
Regular practice with III exam IC 38 insurance agent mock test improves performance. These online tests simulate the actual exam environment. Hence, candidates can assess their preparation level accurately.
Study Material and Resources
Quality study material makes a significant difference in exam success. Fortunately, several resources are available for III exam preparation.
Official Study Material
The Insurance Institute of India study material free download option is available on the official website. However, the free materials are limited in scope. Therefore, many candidates prefer comprehensive paid courses.
Recommended Resources
Visit the III Exam Courses & Mock Test page for complete preparation packages. These courses include:
- Detailed video lectures
- Chapter-wise notes
- Practice questions
- Mock tests
- Doubt clearing sessions
Additional Support Materials
- Previous year question papers
- Sample papers and mock tests
- Subject-wise question banks
- Online discussion forums
III Exam Preparation Tips for Working Insurance Employees
Balancing work and exam preparation is challenging. Nevertheless, many working professionals successfully clear III exams every year. Here are proven III exam preparation tips for working insurance employees.
Time Management Strategies
Create a Study Schedule:
- Dedicate 2-3 hours daily for studies
- Use early morning or late evening hours
- Utilize weekend time effectively
- Plan breaks to avoid burnout
Prioritize Subjects:
- Start with difficult subjects
- Give more time to weak areas
- Regular revision of completed topics
Smart Preparation Techniques
Focus on Key Topics: Instead of trying to cover everything, identify important areas. Moreover, analyze previous year papers to understand question patterns. Consequently, this helps optimize your preparation time.
Practice Regularly: Solve mock tests and sample papers weekly. In addition, time yourself while practicing to improve speed. Therefore, you’ll be better prepared for the actual exam.
Make Short Notes: Create concise notes for quick revision. Furthermore, use flowcharts and diagrams for complex topics. This visual approach aids better retention.
Utilize Work Experience
Your practical insurance knowledge is valuable. Therefore, relate theoretical concepts to your daily work. Additionally, discuss difficult topics with experienced colleagues.
Comparing Different III Qualification Levels
Understanding differences between levels helps in making informed decisions. Let’s compare the three main qualifications.
Licentiate vs Associateship
Licentiate Features:
- Entry-level qualification
- Basic insurance concepts
- Shorter preparation time
- Suitable for freshers
Associateship Advantages:
- Intermediate level
- Deeper subject knowledge
- Career advancement opportunities
- Specialization options
Associateship vs Fellowship
Associateship Level:
- Requires moderate experience
- Good for middle management
- Credit point system available
- 5-6 papers to complete
Fellowship Level:
- Advanced qualification
- For senior positions
- Extensive industry knowledge
- Highest professional recognition
Common Mistakes to Avoid in III Exams
Learning from others’ mistakes saves time and effort. Here are typical errors candidates make during preparation.
Registration Mistakes
- Missing application deadlines
- Incorrect document uploads
- Wrong exam center selection
- Payment confirmation oversight
Preparation Errors
Inadequate Time Management: Many candidates start preparation too late. Consequently, they cannot cover the entire syllabus properly. Therefore, begin your studies at least 3-4 months before exams.
Ignoring Mock Tests: Some students focus only on reading material. However, practice tests are equally important. Thus, regularly attempt mock exams to assess your readiness.
Neglecting Weak Areas: Avoiding difficult topics is common but harmful. Instead, spend extra time understanding challenging concepts. Moreover, seek help from mentors or online forums.
Examination Day Mistakes
- Arriving late at the center
- Not carrying required documents
- Poor time management during exam
- Not reading questions carefully
Best Strategy for Different Exam Levels
Each qualification level needs a tailored approach. Let’s explore effective strategies for each.
Licentiate Exam Strategy
Focus on building strong fundamentals. Additionally, understand basic insurance terminology thoroughly. Since this is your first professional exam, take it seriously.
Recommended Timeline:
- 3 months before exam: Start systematic study
- 2 months before: Complete first reading
- 1 month before: Revision and mock tests
- Last week: Quick revision of important topics
Associateship Exam Approach
This level requires analytical thinking and application knowledge. Furthermore, choose your specialization (Life or General Insurance) wisely based on your career goals.
Subject Selection Tips:
- Match with your current job profile
- Consider future career plans
- Check paper exemption eligibility
- Consult with senior colleagues
Fellowship Exam Methodology
The highest qualification demands extensive preparation and maturity. Moreover, practical industry experience becomes crucial at this level.
Advanced Preparation:
- Study regulatory updates regularly
- Read industry journals and reports
- Analyze case studies thoroughly
- Participate in insurance seminars
Resources Available on Study4Insurance
For comprehensive preparation support, explore various resources available on our platform. These materials are specifically designed for III exam success.
Main Exam Categories
III Exam Resources: Visit the III Exam main page for complete information. Here you’ll find links to all three qualification levels.
Specialized Pages:
Other Professional Exams
While focusing on III exams, you might also be interested in:
Conclusion: Your Path to III Success
Successfully completing Insurance Institute of India exam requires dedication, proper planning, and consistent effort. Whether you’re starting with Licentiate or aiming for Fellowship, each level adds value to your professional profile.
Remember these key points:
- Choose the right qualification level for your career stage
- Start preparation early and study consistently
- Use quality study materials and practice tests
- Learn from your mistakes and improve continuously
- Stay updated with exam notifications and schedule
The journey from Licentiate to Fellowship takes time and patience. However, each qualification opens new doors in your insurance career. Therefore, take the first step today and commit to your professional development.
For more detailed guidance, study materials, and mock tests, visit Study4Insurance Blog. Additionally, join our Telegram Community to connect with fellow aspirants and get regular updates.
Best wishes for your III exam preparation! Your success in these professional exams will significantly boost your insurance career growth.
Keywords: Insurance Institute of India exam, III professional exams licentiate associateship fellowship, III licentiate exam pattern syllabus study material, III associateship exam preparation notes question bank, III fellowship exam preparation question bank, III online examination schedule 2026, insurance agent IC 38 exam, III exam handbook rules passing marks 60% distinction 75%